A guide to getting up and running with blogdown, GitHub, and Netlify
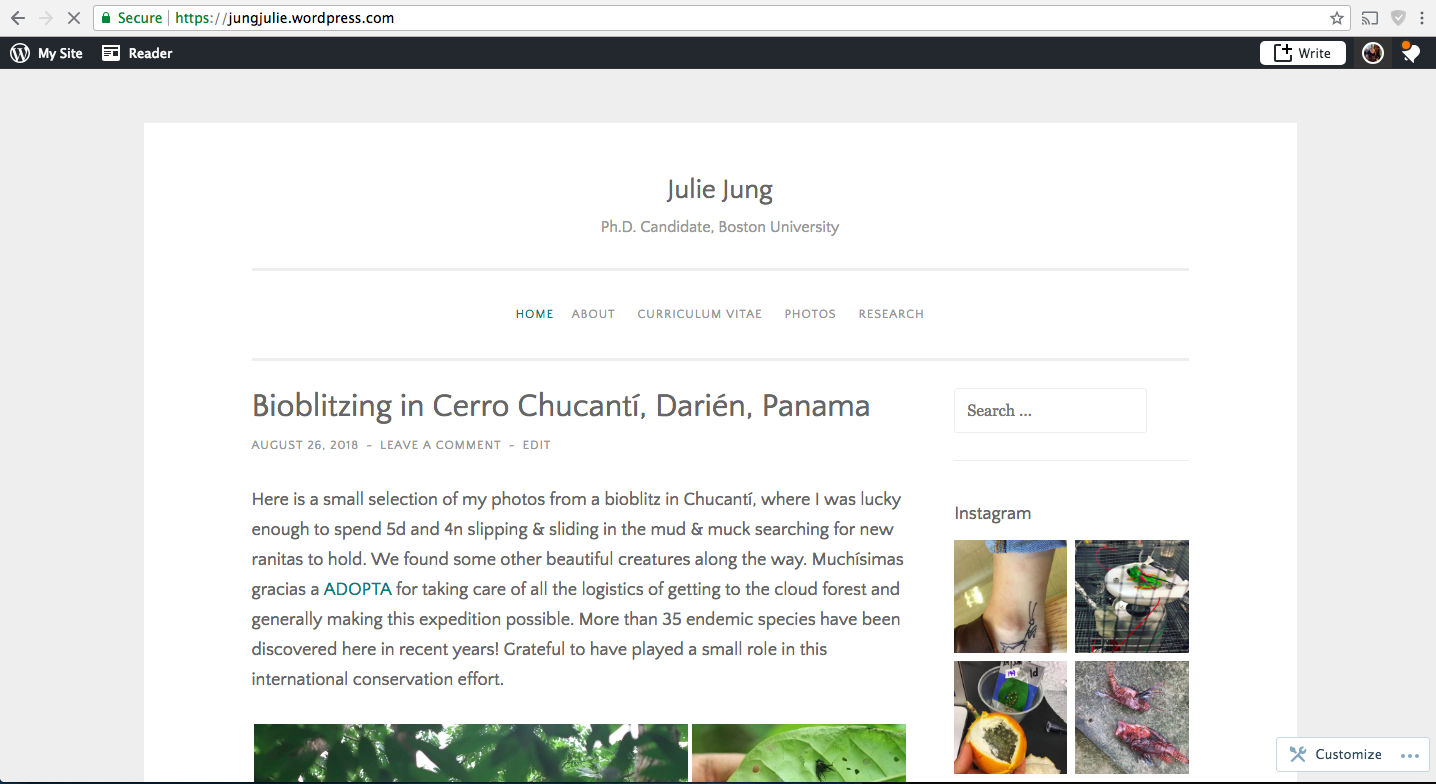
This is my previous blog, made with wordpress. It was fine but I’ve been itching to revamp it for a while now, using R.
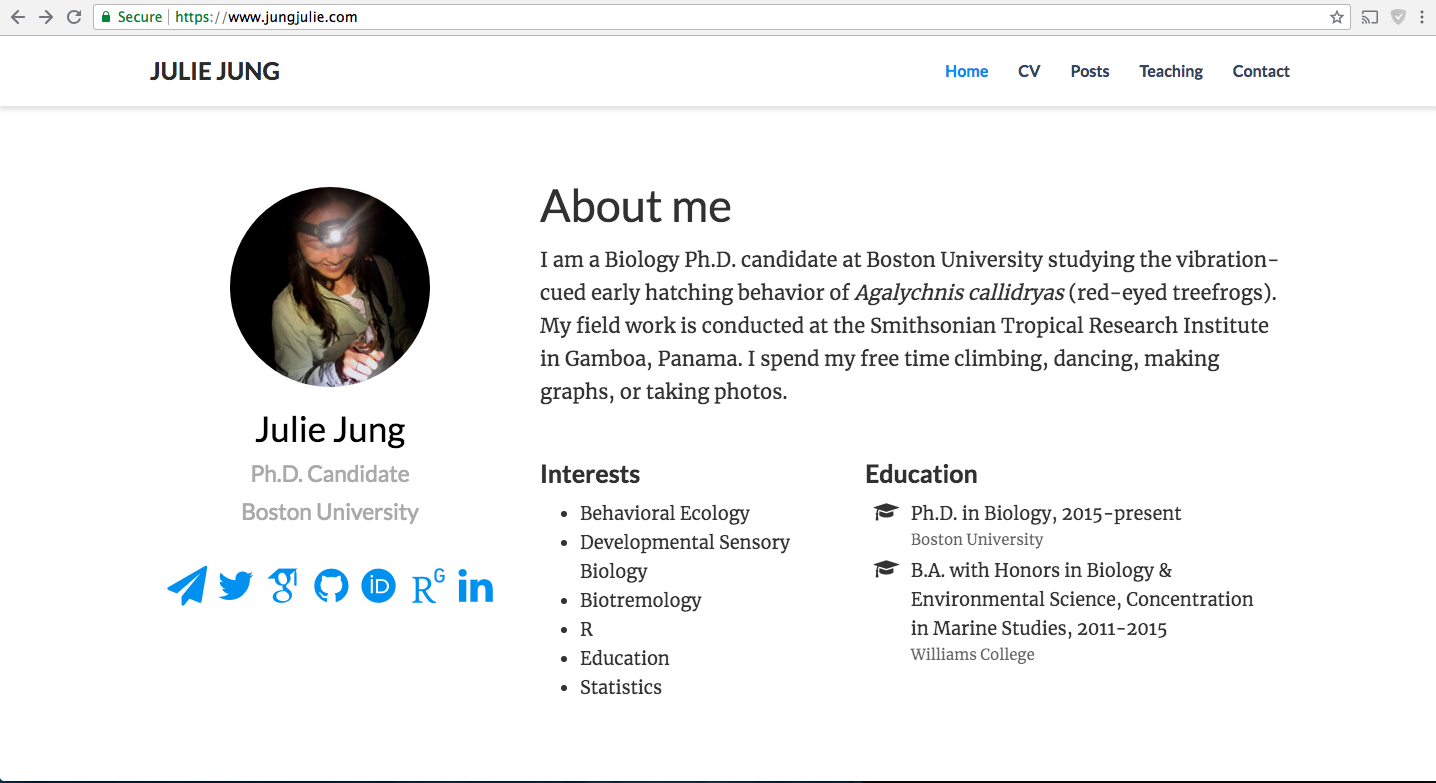
Here’s a screenshot of the new and improved version! Herein I’ll show you the steps I used to make the magic happen. There are sometimes many valid ways to accomplish the same thing - I’m sharing here what worked for me.
FULL DISCLOSURE - I relied heavily on these vignettes by Alex Albright and by Alison Presmanes Hill. Combined, they may do a better job at explaining what I did than I do here.
Step 1: Install Blogdown & Hugo
Install blogdown from your RStudio console. If you already have devtools installed like I did, you can just use the second line below:
if (!requireNamespace("devtools")) install.packages("devtools")
devtools::install_github("rstudio/blogdown")
Install Hugo using the blogdown package helper function:
blogdown::install_hugo()
# or
library(blogdown)
install_hugo()
Step 2: Generate site
Next, create a new R project in a new directory with File>New Project. Then generate a new site and set the theme! Here are all the Hugo themes to choose from. I picked the hugo academic theme.
new_site() # default theme is lithium
install_theme("gcushen/hugo-academic", theme_example = TRUE, update_config = TRUE)
That command creates a bunch of sample folders in your new directory. I found it easiest to just edit the folders to personalize your site.
The first thing you probably want to do is edit the config.toml file to fix the default website footer and menu.
Don’t knit to preview the site! Instead, serve the site (Tools/Addins/Serve Site) to preview it. You might need to install the add-in package to do that. But the good news is that you only need to click that once in an R session, since your edits will auto-generate the preview after you do it once. Thank you, LiveReload!
Your posts (in the content folder) can be .md or .Rmd or .Rmarkdown files. I think it’s sometimes easier to use the add-ins (eg. insert image, etc.) to call images from the correct folders and subfolders in your file system.
Step 3: Deploy with Netlify
I chose to use Netlify to host the website for my blog because (1) it is free and (2) it is easy! Netlify continuously deploys from your Github repo to build the blog. Here I suggest you follow the steps from section 7 of Alison Presmanes Hill’s post.
Basically all I had to do was connect my Github Repo and supply a version of Hugo. Netlify will then deploy your site and assign you a random subdomain name. I changed mine to jungjulie.netlify.com.
Step 4: Connect a Custom Domain
I chose to buy my custom domain (jungjulie.com) from GoDaddy after shopping around and deciding which one was cheapest. Alternatively you can use an rbind.io domain for free. It was a pretty simple process to set custom nameservers for my custom domain. Follow this and this link for more info on how to do that. A couple hours later, my site jungjulie.com was up and running! :)